Mounting motors

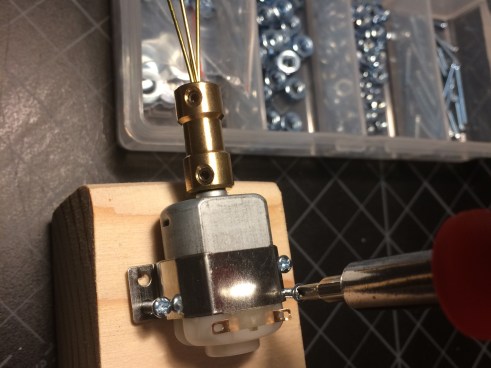
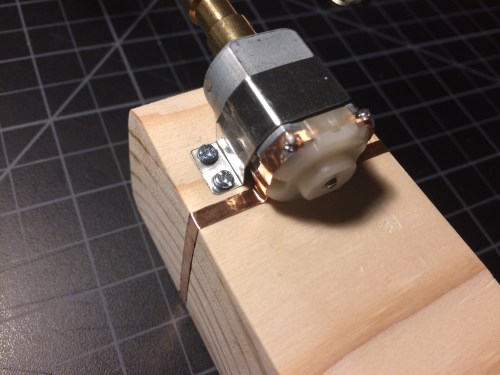
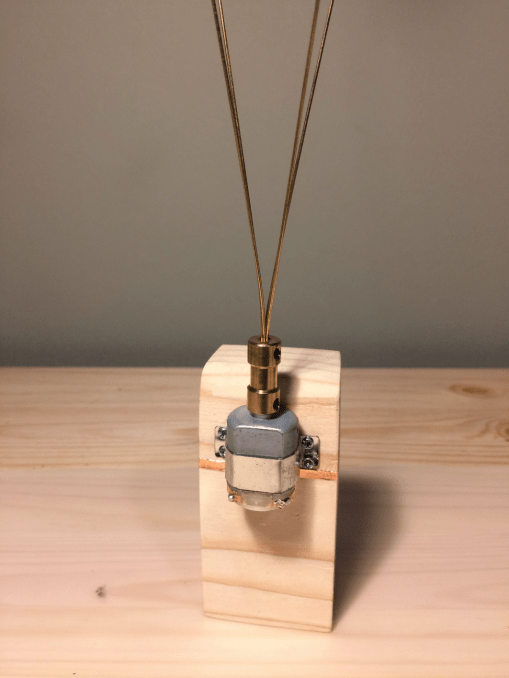
*For the last assignment you will be mounting a motor/servo/stepper (one or more) to something as well as mounting something to that motor/servo/stepper.  It can be completely DIY, or off-the-shelf components, or a combination of the two.*


Inspirations or how I’m a Zimoun wannabe for this assigment.

//

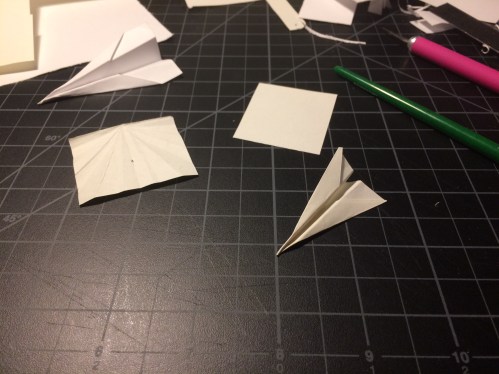
if you are like me and making paper planes is a complete mystery, here is a helpful link.


Materials and construction.

//


//


Enclosure

*Build an enclosure for an electronics project using any tool(s) or technique(s) you like.  Make sure that you can get back inside to make repairs, change batteries, modify, etc.*


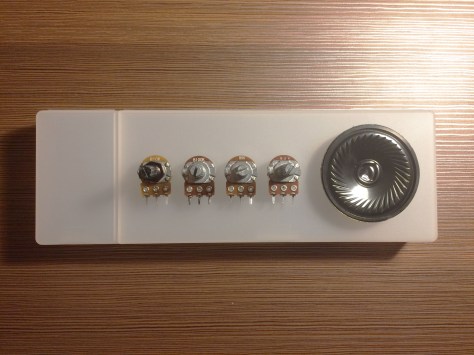
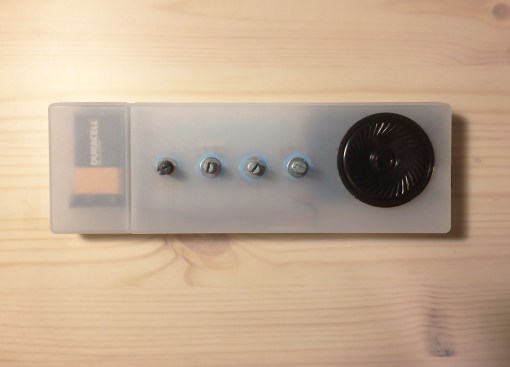
I took inspiration from a family member that is obsessed with synthesizers and electronic musical instruments. So, this is my own arduino ornament and crime module.

Materials and tools: Arduino, Breadboard, Muji pen case (3$), 9v Battery, 9v Battery holder, Speaker, Potentiometers, exacto blade and a Dremel.

First, I measured the pieces on top of the pen case.

Outline the position of each piece with a pencil (to erase easily later).

Made some strategic holes with the Dremel and continued the cut with the exacto blade.


//


Magnolia laser cut

*Create something using the laser cutter*

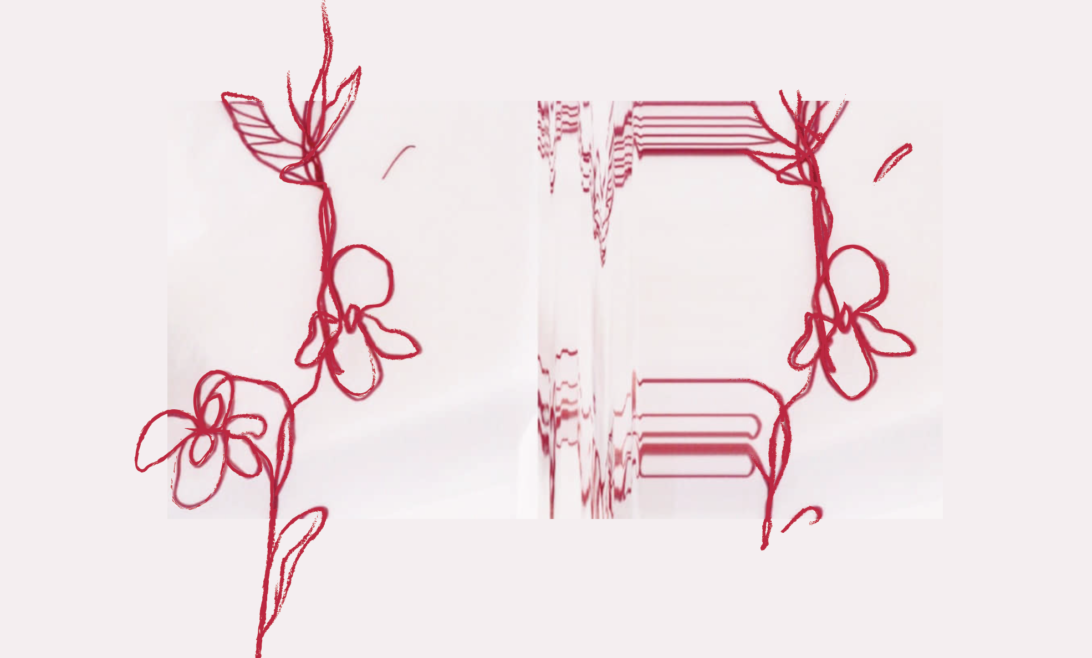
As an illustrator, I wanted to test the laser cutting machine and explore a little bit the possibilities of this worlds conveying. Magnolia is an illustration that was inspired by a real moment back home (Bogotá).

First, you need to transform it into a vector illustration on Adobe and separate it into several layers, especially if you want to use different materials or colour. In this case, I choose two colours of the same material (paper).

Some changes were made on the vector design, I wasn’t sure if my bumblebee was going to work because of all the details it had, so I separate it from the flower and send it in a different file.

After the laser, some modifications were necessary because some lines were too close to each other. Because the bumblebee didn’t come out as wanted, choosing only the flower seemed like the right idea.


Wood toy car

*Make multiples of something, 5 or more.  The objects must be a multi-process piece*


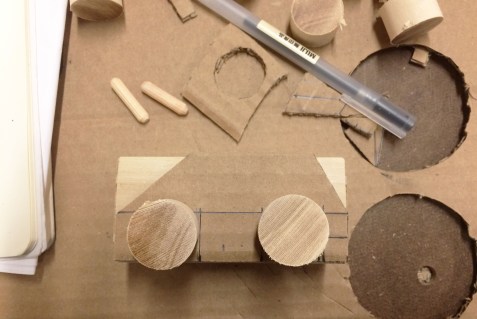
The idea was to replicate five objects following tasks that would make possible to generate with same steps either five or a hundred. I gather some materials for the project:  1/2 inch square piece of wood, a dowel, dowel pins and some cardboard.


First, I drew the template on the original material just the get an idea of the scale, Then I made a template out cardboard.

Then I moved to the miter saw to cut my pieces. I cut more than five in case of damaging one piece.

Put the template on each piece, draw the angles and marked the centre of each wheel so I could drill the holes in the body of the car.

The angles were cut with the band saw, the dowel was cut with the same tool. Then I sand all the pieces with the belt sander.

I knew I didn’t want to paint the cars but I did want the wheels to be black, so I used spray paint in black with a matte finish. It was the easier way to paint them all and it dried faster as well.

Following the idea of optimizing repetition, I made a window stamp out of linoleum and test it on cardboard and pieces of wood before applying it to the final five.

The idea was to use dowel pins to connect the wheels to the cars, drilling single cut pieces of dowel turned in an impossible task because even with a template getting to the centre of each piece was tricky. Know that I think about it, drilling the dowel first and then cutting it into pieces would have worked better, but I didn’t want holes from side to side.

So, I ended up using wood glue and rubber bands as clamps to attach the wheels to the body and let them like that until the following day.


//


Beet flashlight

* Build a flashlight using any tools or techniques you’d like. Defining a flashlight as portable and creates light.*


– BEET FLASHLIGHT-


The brief was very open to interpretation; to be portable and create light. I wanted to create something simple but fun.  Also, I didn’t know how to make a flashlight. Keeping it simple was probably the best idea in order to understand the assignment, to test my capabilities and finishing on time.

Keeping it simple was probably the best idea in order to understand the assignment, test my capabilities and finish it on time.

Here is a little video that proves it works: beet lighting up.


BUILDING THE BEET FLASHLIGHT.

It all started with some basic materials: Green LEDs, alkaline AAA batteries, battery holder, button, wires, electric tape and a foam ball.

The first step was to cut the ball in half with an exact blade, as carefully and polished as possible. Take a little bit of the foam away to make some space, assembling the ball to one piece was the main idea.

Then, I had to make a decision where to put my parts (button and LEd’s). The foam ball had a face, which helped me get an idea of the surface area. I made a  cut in the center of each piece, the button on one side and a LED on the other.

Through the entire process, taking away some foam and make space for the parts was the rule.

Because I didn’t have much experience soldering and my materials were mostly one of each. I decided to use electric tape, this allowed me to make fast changes when the connections didn’t work, especially because my battery holder had the ground and plus backward.

After all was connected, I started closing it with some tape, trying to keep it as much in shape as I could (the battery modified the form) until the piece started to take the form a beet, the purple tape helped with that resemblance too. I like the idea of it being a character, so I drew a face on it and voila!